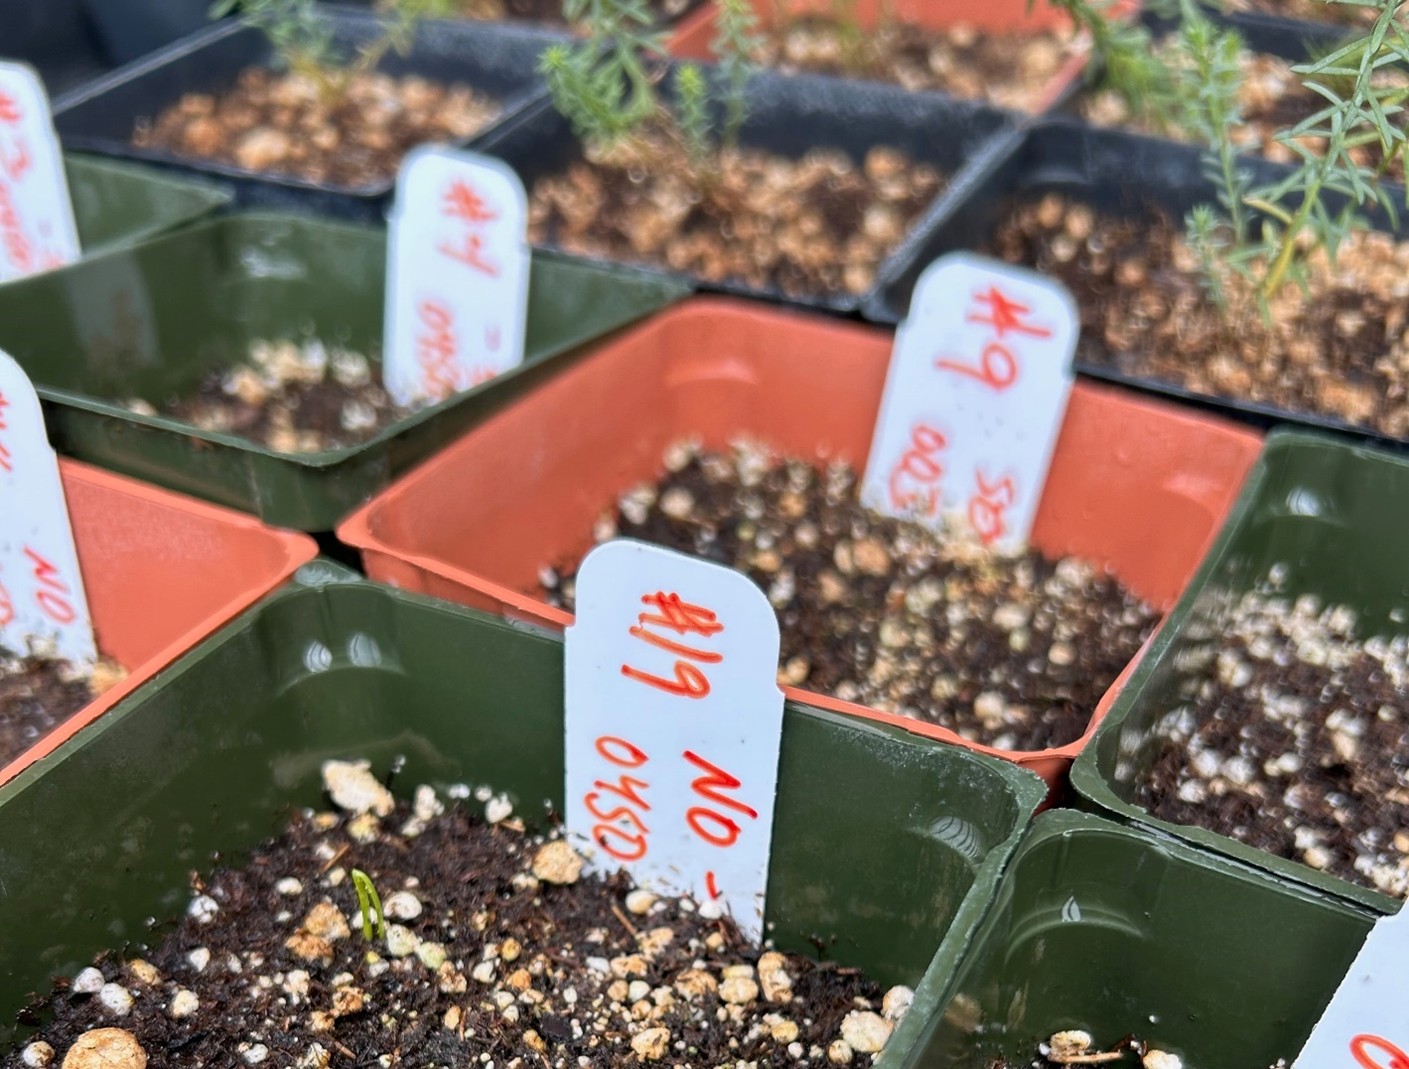
Creating your own home seed bank with airtight containers and a freezer will help preserve saved vegetable seed from year-to-year. (photo credit: April O’Meara)
This article appeared in the Arizona Daily Sun on December 4, 2025.
Recently, a friend was visiting and looked in my freezer for beverage ice. To my friend’s surprise, he noticed that more than half of my freezer space was full of vegetable seeds leaving very little room for frozen foods. “Nate, what’s with all these frozen seeds?” he asked. “That’s my seed bank” I explained. The bank consists of seeds I have been collecting from my own garden or through my work with traditional farmers over the last twenty-five years!
To me, seed saving is not only a practical way to select and grow plants that thrive in our region; it is also a skill worth knowing in the unpredictable world we live in. As an agricultural anthropologist, I see how saving seeds connects us to an ancient lineage of self-sufficient gardeners and farmers who have protected crop heritage for generations and continue to do so today.
A botanist friend of mine once described seeds as “baby plants in a box with their lunch.” As they wait to be planted, these baby plants survive by slowly eating their lunch—the seed endosperm—until roots and leaves can begin feeding them from sun, water, and soil. The longer vegetable seeds are out of the ground, the more of their endosperm they use up, rendering them nonviable in as little as three to five years. However, if stored under optimal conditions, seed viability can be maintained for up to ten times longer than normal. These optimal conditions aren’t created by the common practice of putting seeds in a shoebox in the garage-where they face dramatic temperature swings- but by placing them in a freezer, which slows endosperm breakdown as the seeds go dormant in the cold.
If you are interested in starting your own home seed bank, follow these easy steps:
1. After your seeds are completely dry (they should break instead of bend), put each variety in a paper envelope and write the year and variety name on the envelope. You may want to record special information about the variety such as how well it grew that year, how tasty the fruit was, or information about its cultural importance.
2. Make a cloth bag of powdered milk (purchased at grocery stores) that is about the same size as the amount of seeds you are storing. This cloth bag of milk serves to absorb any moisture that might leak into the storage container as well as any moisture remaining in the seeds.
3. Place the bag and envelopes into an airtight, moisture-proof container—such as a glass jar with a rubber-gasket lid, a tightly sealed food-storage container like Tupperware, or a screw-top canning jar. A metal coffee can also work if you tape the lid securely with several rounds of electrical tape.
4. These containers can then be kept in a freezer with no damage to the dry seeds. If a freezer is unavailable, the next best place would be in a refrigerator, or at least in a cool dark place where the temperature fluctuates as little as possible.
5. Before opening the storage container, let it sit out overnight to reach room temperature so that moisture will not condense on the cold seeds and rehydrate them. Also, open and close the container as quickly as possible since thoroughly dry seeds reabsorb moisture rapidly, which may damage them if frozen again. If the container is open for any extended length of time, replace the powdered milk.
6. When ready to plant, expose the seeds to air for a few days before planting. This will let the seeds slowly absorb some moisture before being placed in the moist soil.
7. Enjoy your collection knowing that your seeds will be saved for the next generation of farmers and gardeners!
Nate O’Meara is the Executive Director of The Arboretum at Flagstaff.